

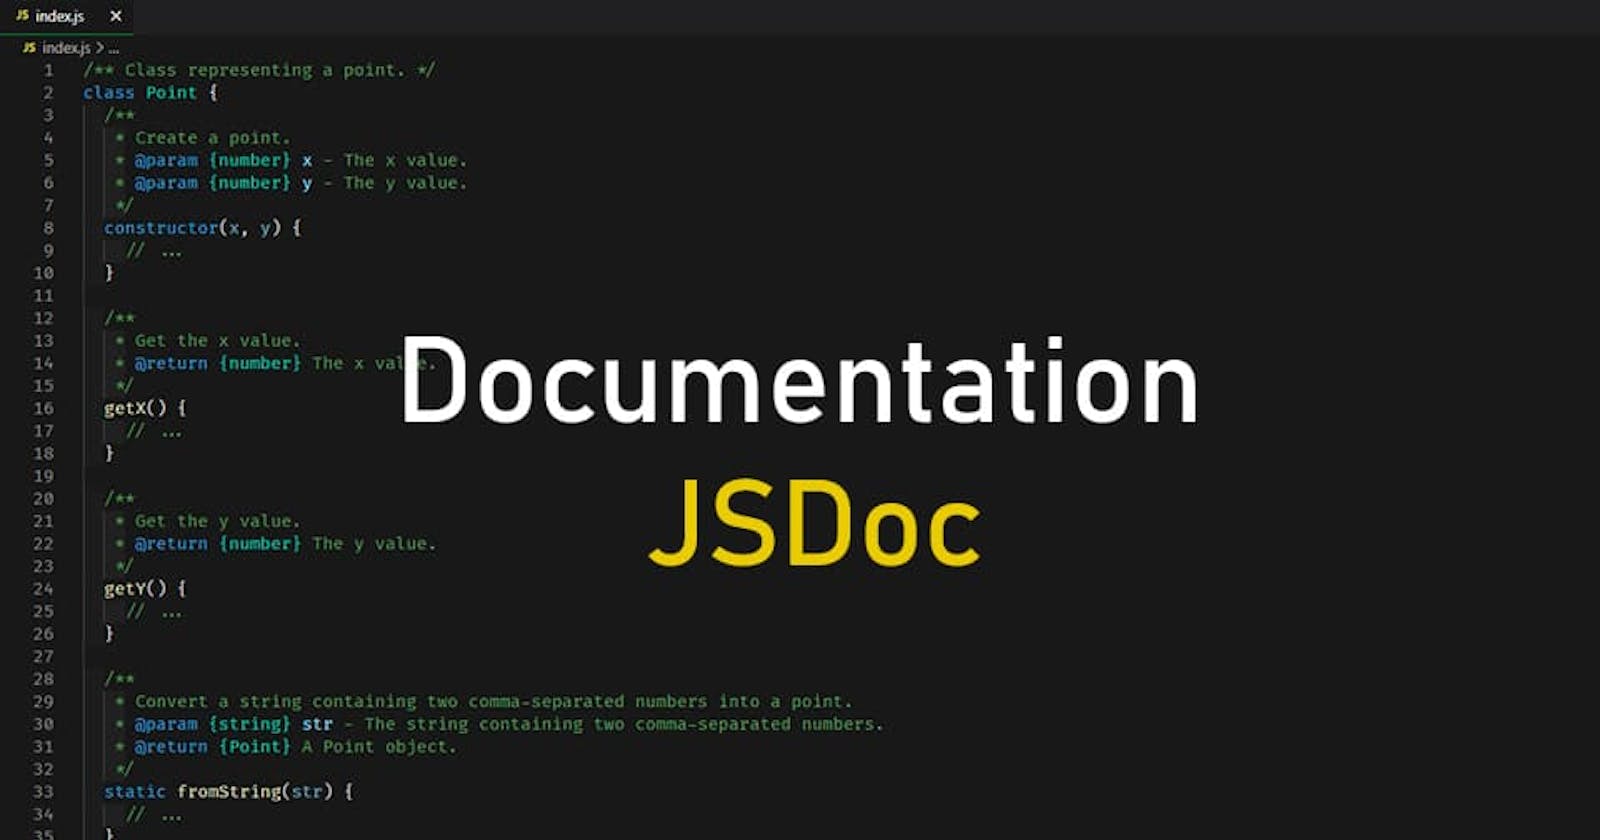
JSDoc is a markup language used to annotate JavaScript source code using comments. The annotations are then processed by various tools to generate documentation in accessible formats such as HTML and Rich Text Format.
Getting started
Creating a new project
Run the following commands to create a project:
mkdir learn-jsdoc && cd learn-jsdoc- creating a project folder.npm init -y- project initialization.touch index.js- creating a fileindex.js
Installing JSDoc
Install JSDoc in one of the following ways:
- Globally:
sudo npm install -g jsdoc - Locally:
npm install -D jsdoc
Adding comments
For simplicity, we will write all the code in the index.js file. JSDoc comments should be placed before the code being documented. Each comment must start with the /** sequence. Comments starting with /*, /*** or more than 3 stars will be ignored. An example of the simplest annotation:
/** This is a description of the foo function */
function foo() {
  console.log("foo");
}
To add a description, just enter it in the comment. To indicate additional information, you need to use special tags. For example, if the function is a constructor, you can specify this by adding the @constructor tag . The @param tag allows you to specify the name, type and description of the function parameter. An example of using these tags:
/**
 * Represents a book.
 * @constructor
 * @param {string} title - The title of the book.
 * @param {string} author - The author of the book.
 */
function Book(title, author) {
  this.title = title;
  this.author = author;
}
Generation of documentation
To generate documentation, run one of the following commands, depending on how you installed JSDoc:
- Globally:
jsdoc index.js - Locally:
./node_modules/.bin/jsdoc index.js
This will create an out folder containing the generated documentation. To view it, open the file index.html.
Basic tags
JSDoc supports two types of tags:
- Block tags, which are at the top level of a JSDoc comment.
- Inline tags that appear in the text of a block tag or description.
Block tags always start with an @ sign. Each block tag must be followed by a line feed, except for the last block tag in the JSDoc comment. Inline tags also start with an @ sign. However, inline tags and their text must be enclosed in curly braces {}. If your tag text includes curly braces, you must escape them with a backslash \. No line feed is needed after inline tags.
The list of JSDoc tags available here. There are also additional Closure compiler tags. Let's take a look at the main tags.
@description tag
The @description tag allows you to specify a general description of the documented code. If the general description goes at the beginning of the comment (before using other tags), then the @description tag can be omitted:
/**
 * Add two numbers.
 * @param {number} a - First number
 * @param {number} b - Second number
 */
function add(a, b) {
  return a + b;
}
Using the @description tag, you can place a description anywhere in the comment:
/**
 * @param {number} a - First number
 * @param {number} b - Second number
 * @description Add two numbers.
 */
function add(a, b) {
  return a + b;
}
@param tag
@param tag allows you to specify the name (required), type and description of the function parameter. The syntax is: @param {Type} Name - Description. The parameter type can be a built-in JavaScript type. You can also use expressions to indicate, for example, that a parameter cannot be null or that it is an array. For details, see the @type tag documentation .
/**
 * User greeting
 * @param {string} name -  User name.
 */
function sayHello(name) {
  alert('Hello ' + name);
}
@returns tag
The @returns tag documents the return value of the function. Syntax: @returns {Type} Description.
/**
 * Add two numbers.
 * @param {number} a - First number
 * @param {number} b - Second number
 * @returns {number} Sum of a and b
 */
function sum(a, b) {
  return a + b;
}
@module tag
@module tag marks the current file as a separate module. All variables and functions in the file are members of the module. If no module name is specified, it is determined by the path and file name. The details of using the modules are described later.
/** @module User */

const defaultUserName = "UFO";

/**
 * User greeting
 * @param {string} name -  User name.
 */
function sayHello(name) {
  alert('Hello ' + name || defaultUserName);
}
Name paths
When writing a JSDoc comment, we can reference a JavaScript variable. To do this, you need to specify the path to it. Paths allow you to distinguish between variables with the same name in different modules, as well as instance and static methods.
@link tag
The @link tag is intended to add a link to a variable in a specific module. This tag is inline and has the following syntax: {@link Path to name} or [Link text]{@link Path to name}. If you do not provide link text, JSDoc uses the name path as the link text. Consider for example, create a file MyModule.js with the following contents:
/** @module MyModule */

/** Module variable MyModule */
const variable = "Module variable";

/** Module function */
function foo() {
  console.log("Module function");
}

/**
 * Constructor MyClass
 * @constructor
 */
function MyClass() {
  /** Instance method */
  this.foo = function () {
    console.log("Instance method");
  };
}

/** Static method */
MyClass.foo = function () {
  console.log("Static method");
};

module.exports = {
  MyClass,
  variable,
  foo,
};
In the MyModule module, we have defined a variable, a function and a class that has an instance method and a static method. Next, in your index.js file, write the following:
const { MyClass, variable, foo } = require("./MyModule");

/**
 * The bar function uses different functionality of the MyModule module: <br/>
 * [Module variable]{@link module:MyModule~variable} <br/>
 * [Module function]{@link module:MyModule~foo} <br/>
 * [Instance method]{@link module:MyModule~MyClass#foo} <br/>
 * [Static method]{@link module:MyModule~MyClass.foo} <br/>
 */
function bar() {}
In the description of the bar function, we have added references to variables and functions from the MyModule module. The syntax for specifying a pathname differs only for instance methods and static methods. The <br/> tag is used for line feeds.
Command line arguments
JSDoc supports many command line parameters, let's take a look at the main ones:
-c <value>, --configure <value>: the path to the JSDoc configuration file (discussed later). By defaultconf.jsonorconf.json.EXAMPLEin the directory where JSDoc is installed.-d <value>, --destination <value>: path to the folder of the generated documentation. The default is./out.-r, --recurse: for specified directories recursively scan subdirectories.
Usage example: /path/to/jsdoc src -r -c /path/to/my/conf.json -d docs. This command creates documentation for files in the ./src directory and its subdirectories using the configuration file /path/to/my/conf.json and saves the output in the ./docs directory.
Configuration file
To customize JSDoc behavior, you can provide a configuration file in JSON format or as a CommonJS module.
Default configuration
If you don't specify a config file, JSDoc uses the following config options:
{
  "plugins": [],
  "recurseDepth": 10,
  "source": {
    "includePattern": ".+\\.js(doc|x)?$",
    "excludePattern": "(^|\\/|\\\\)_"
  },
  "sourceType": "module",
  "tags": {
    "allowUnknownTags": true,
    "dictionaries": ["jsdoc", "closure"]
  },
  "templates": {
    "cleverLinks": false,
    "monospaceLinks": false
  }
}
It means that:
- Plugins are not used (
plugins). More details about plugins are described later. - If recursion is enabled with the
-rcommand line flag, JSDoc will search for files no deeper than 10 levels (recurseDepth). - Only files ending in
.js,.jsdoc, and.jsx(source.includePattern) will be processed. - Any file or directory starting with an underscore will be ignored (
source.excludePattern). - JSDoc supports code that uses modules ES2015 (
sourceType). - JSDoc allows using unknown tags (
tags.allowUnknownTags). - Both standard JSDoc tags and Closure compiler tags are included (
dictionaries). - Inline tags {@link} are displayed as plain text (
templates.cleverLinks,templates.monospaceLinks).
Using plugins
To include a plugin, add its path (relative to the JSDoc folder) to the plugins array. For example, the following configuration file includes a Markdown plugin that converts Markdown text to HTML:
{
  "plugins": ["plugins/markdown"]
}
A list of all plugins is available here.
Specifying input files
The initial set of parameters, combined with the paths provided for JSDoc on the command line, determine the set of input files that JSDoc uses to generate documentation:
{
  "source": {
    "include": [],
    "exclude": [],
    "includePattern": ".+\\.js(doc|x)?$",
    "excludePattern": "(^|\\/|\\\\)_"
  }
}
source.include: an optional array of paths containing the files for which JSDoc should generate documentation. The paths given on the command line are combined with these paths.source.exclude: an optional array of paths that JSDoc should ignore.source.includePattern: an optional string, interpreted as a regular expression. All filenames must match this regular expression in order to be processed by JSDoc.source.excludePattern: an optional string, interpreted as a regular expression. All files matching this regular expression will be ignored.
The selection of files for which the documentation will be generated takes place in the following order:
- JSDoc starts with all paths specified on the command line and in
source.include. - If the regular expression
source.includePatternis present, then for each file found in step 1, the file name must match it, otherwise it is ignored. - If the regular expression
source.excludePatternis present, then for every file remaining after step 2, any filename matching that regular expression is ignored. - For every file left after step 3, if the file path is in
source.exclude, it is ignored.
Including command line parameters in the config file
You can put JSDoc command line options in a config file:
{
  "opts": {
    "destination": "./docs/",
    "recurse": true
  }
}
You can read more about the configuration file here.
Tutorials
To add tutorials to the API documentation, run JSDoc with the --tutorials or -u option and specify the directory where JSDoc should look for tutorials. For example: jsdoc -u path/to/tutorials path/to/js/files. JSDoc searches the tutorials directory for files with the following extensions: htm, html, markdown, md, xhtml, xml.
JSDoc assigns an identifier to each guide. The identifier is the name of the file without the extension. For example, the identifier for the file /path/to/tutorials/overview.md is overview. The {@tutorial} tag creates a link to the tutorial identifier you specified. Example:
/**
 * Class representing a socket connection.
 * @tutorial socket-tutorial
 */
function Socket() {}
Customizing headers, order, and hierarchy
By default, JSDoc uses the filename as the title of the tutorial, and all tutorials are at the same level. You can use a JSON file to provide a title for each tutorial and determine how the tutorials should be sorted and grouped in the documentation. Each tutorial has two properties:
title: the title displayed in the documentation.children: descendants of this tutorial in the hierarchy.
Example of a tutorials configuration file:
{
  "tutorial1": {
    "title": "Tutorial 1",
    "children": {
      "sub-tutorial1": {
        "title": "Level 2. Tutorial 1"
      },
      "sub-tutorial2": {
        "title": "Level 2. Tutorial 2"
      }
    }
  },
  "tutorial2": {
    "title": "Tutorial 2"
  }
}
Including package.json file to documentation
The package.json file contains information that can be useful for documenting your project, such as the project name and version number. There are two ways to include the package.json file in your documentation:
- In the source paths to your JavaScript files, add the path to the
package.jsonfile. - Run JSDoc with the command line parameter
-Por--package, specifying the path to the filepackage.json.
Including readme.md file to documentation
There are two ways to include the readme.md file in your documentation:
- In the source paths to your JavaScript files, add the path to the
readme.mdfile. - Run JSDoc with the command line parameter
-Ror--readme, specifying the path to the filereadme.md.
The content of the readme.md file will be displayed on the main documentation page.